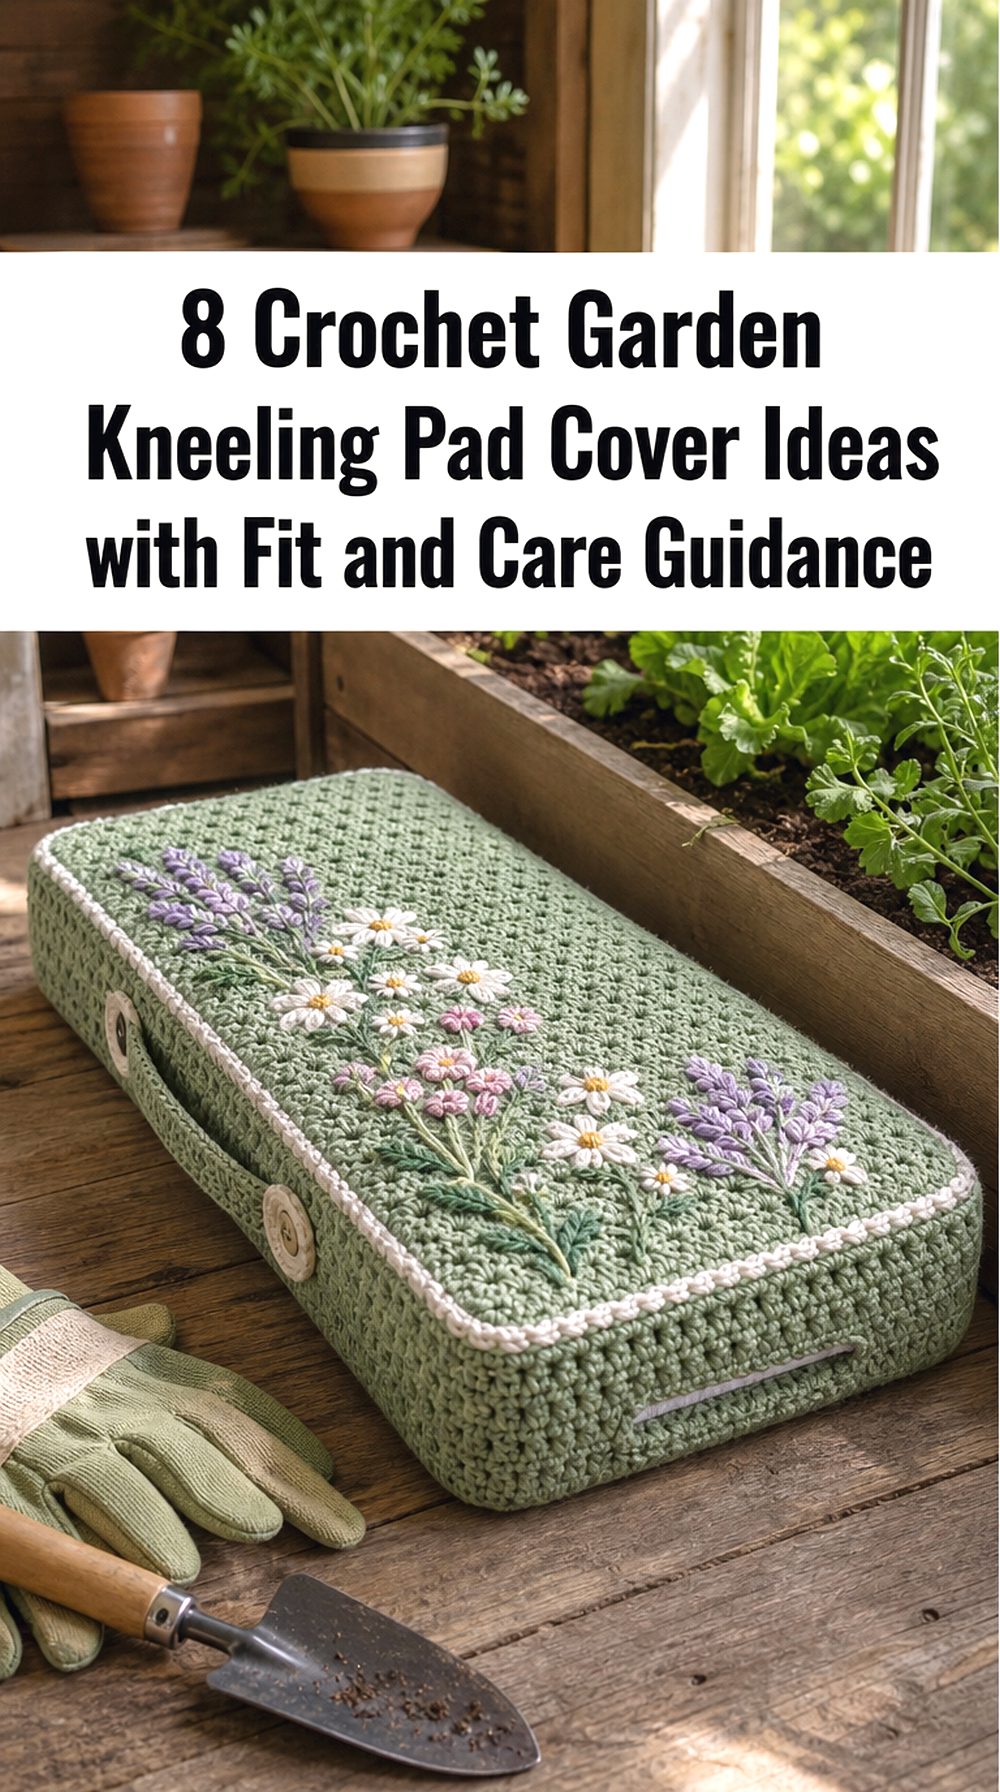
8 Crochet Garden Kneeling Pad Cover Ideas with Fit and Care Guidance
A Crochet garden kneeling pad cover can make a plain foam insert easier to identify in the shed and more pleasant to use during planting, weeding, and potting. The collection combines purpose-built garden kneelers with cushion-cover constructions that can be adapted to a flatter outdoor pad. You will see zipped, buttoned, fold-over, panelled, textured, and graphic options, along with honest notes about moisture, soil, seam wear, and removability. Because Crochet fabric is an outer layer rather than a waterproof shell, the guide also explains when a washable lining or separate moisture barrier is sensible. Measure your existing pad before choosing a design, then match the closure and stitch texture to how often it will be cleaned and stored.
Quick List
- Recycled Plarn Crochet Garden Kneeling Pad Cover
- Zipped Stripe Crochet Garden Kneeling Pad Cover
- Fold-Over Chevron Crochet Garden Kneeling Pad Cover
- Gingham Panel Crochet Garden Kneeling Pad Cover
- Alpine Texture Crochet Garden Kneeling Pad Cover
- Graphic X Crochet Garden Kneeling Pad Cover
- Envelope-Back Crochet Garden Kneeling Pad Cover
- Rectangular Geometric Crochet Garden Kneeling Pad Cover
How to Choose a Crochet Garden Kneeling Pad Cover for Fit and Care
Start with the insert, not the decorative stitch. Measure its length, width, and depth, then decide whether the cover should fit closely or leave a little ease for removal. A deep foam pad needs a side panel or boxed construction; a thin mat may work with two flat panels or one long folded rectangle. Next, consider access. Zips give a neat, secure opening, while envelope backs and buttoned edges are easier to adapt without specialist sewing skills. Removability matters because garden soil can work into raised stitches and seams.
Choose the surface texture with use in mind. Dense, flatter stitches are less likely to catch on rough paving than loose motifs, tassels, or pronounced bobbles. A decorative front can still work if the plainer side faces the ground. Reinforce corners, carry handles, and closure points, as these areas receive repeated pulling. Finally, keep the finished Crochet cover dry between uses. Shake off loose soil, follow the yarn’s care instructions, and store the pad indoors rather than leaving it on damp ground.
1. Recycled Plarn Crochet Garden Kneeling Pad Cover
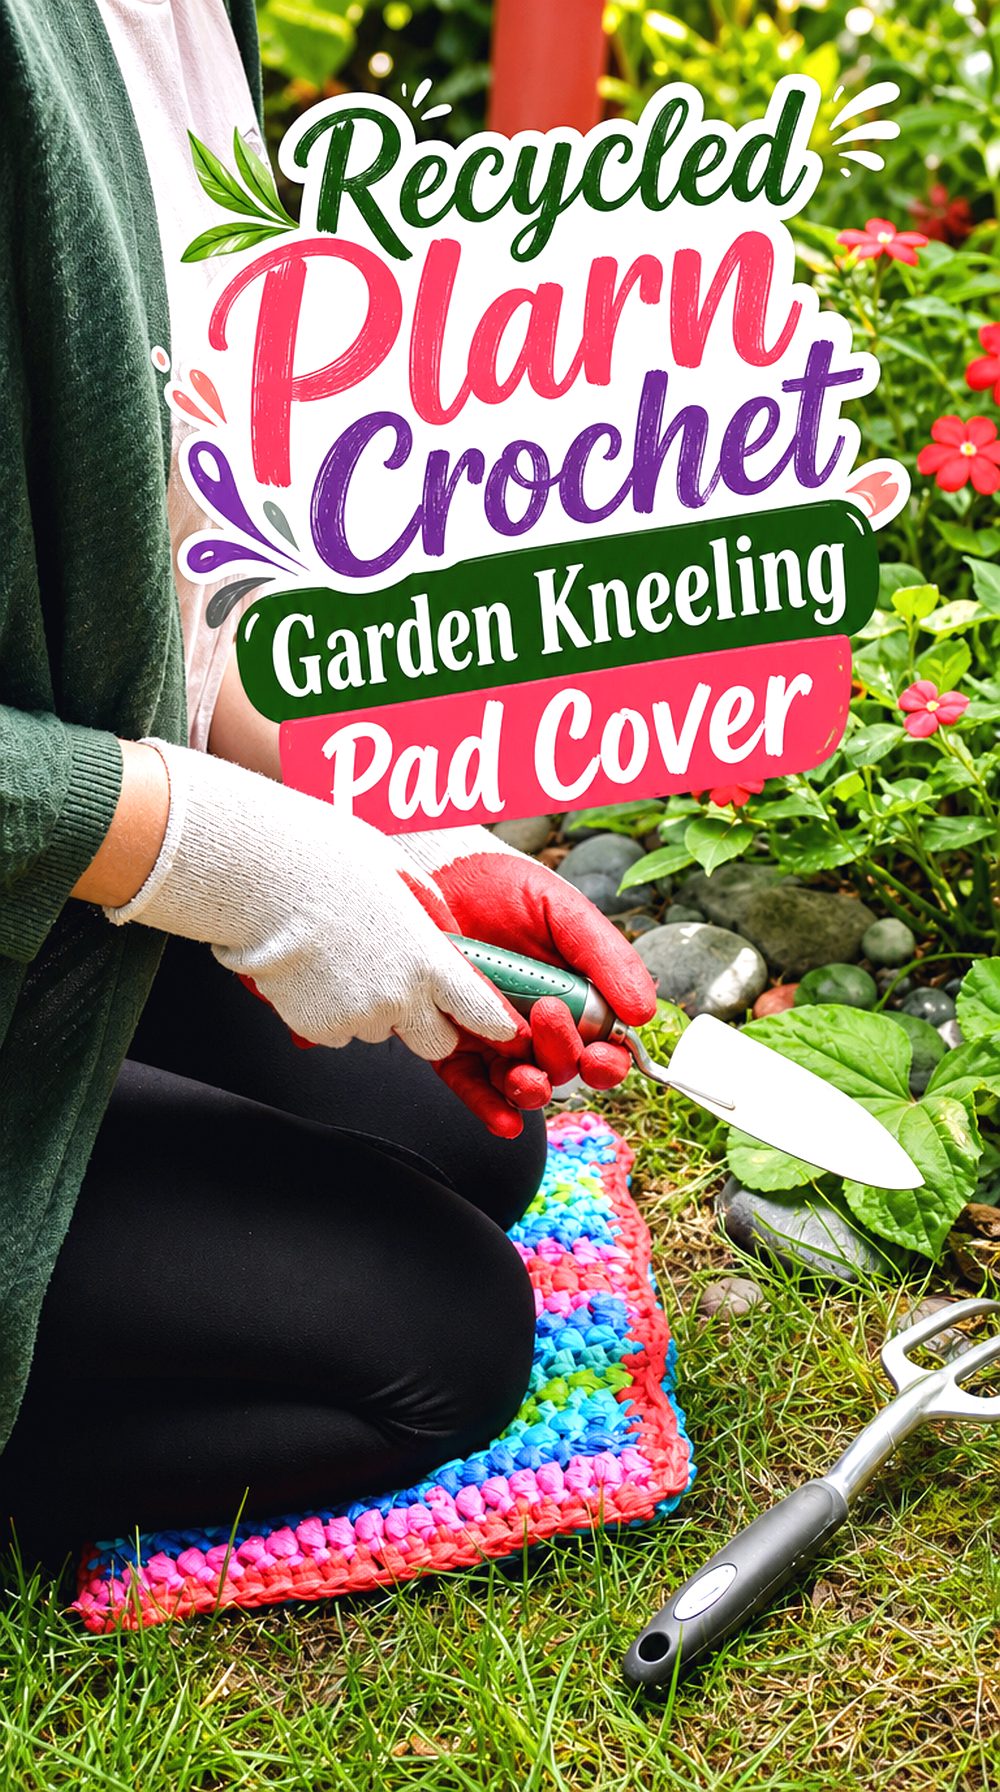
Design Details: This purpose-built Crochet garden kneeler uses a rainbow-striped front, a plain recycled-plastic back, and an insert assembled from padded envelopes. The two panels are edged and joined like a compact pillow, with an optional buttoned opening that lets the inner pad come out. Its bright horizontal bands are easy to spot among tools and pots.
Practical Point: Plarn suits a project that may meet damp grass or loose soil, and the source specifically presents it as a material that can be rinsed. Even so, dry the cover and insert thoroughly before storage, and inspect the taped inner bundle if it becomes crushed or punctured.
Customisation Idea: Keep the multicolour front, or reduce the palette to two garden shades. Place the smoother back against the ground so the decorative ridges remain cleaner.
2. Zipped Stripe Crochet Garden Kneeling Pad Cover
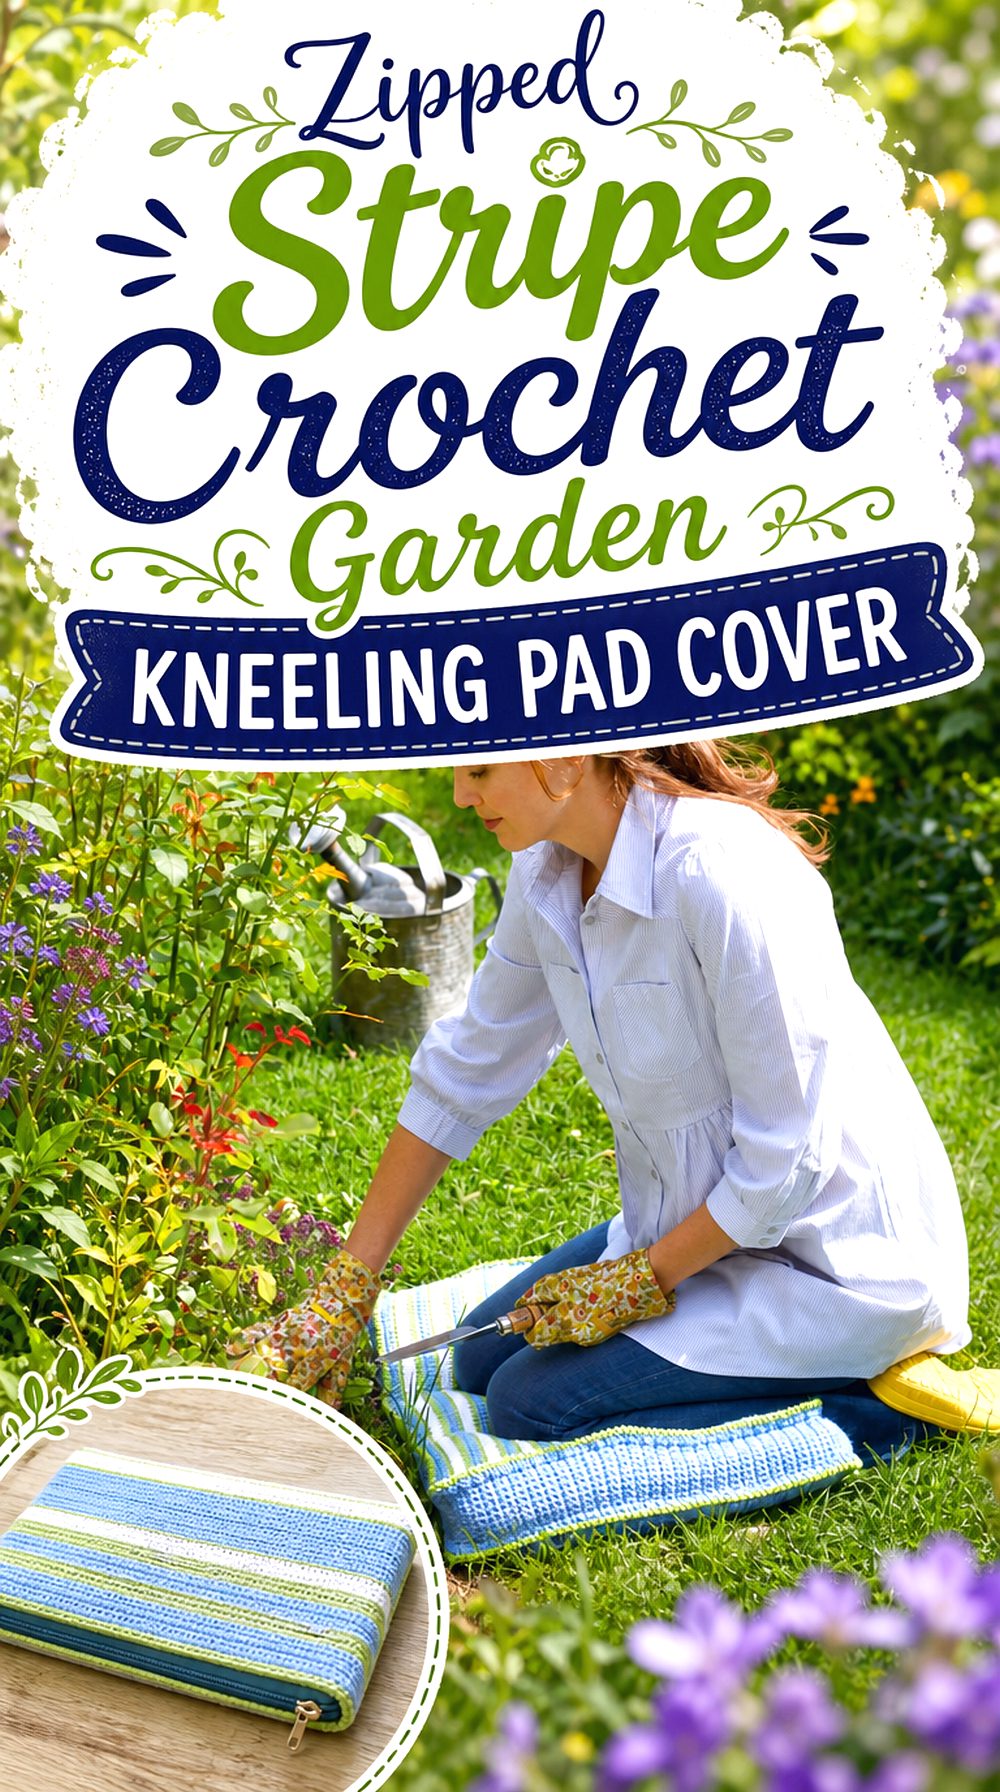
What Stands Out: The linked Crochet kneeling cushion is a deep, boxed rectangle built around a thick foam insert. A plain blue face carries large contrasting appliqué lettering, while the reverse and side band use narrow green, white, and blue stripes. Reverse-crochet edging gives the outer seams a defined finish, and a zip is fitted along one edge.
Best Use: This is the most cushion-like option in the collection and suits gardeners who want a broad kneeling area rather than a slim portable mat. The zipped opening also makes the cover easier to separate from the foam when cleaning is needed.
Before You Choose: Raised lettering adds personality but can trap dry soil or catch on rough surfaces. Keep the appliqué side facing upward, brush debris away before washing, and check that your chosen zip length works with the adjusted pad dimensions.
3. Fold Over Chevron Crochet Garden Kneeling Pad Cover
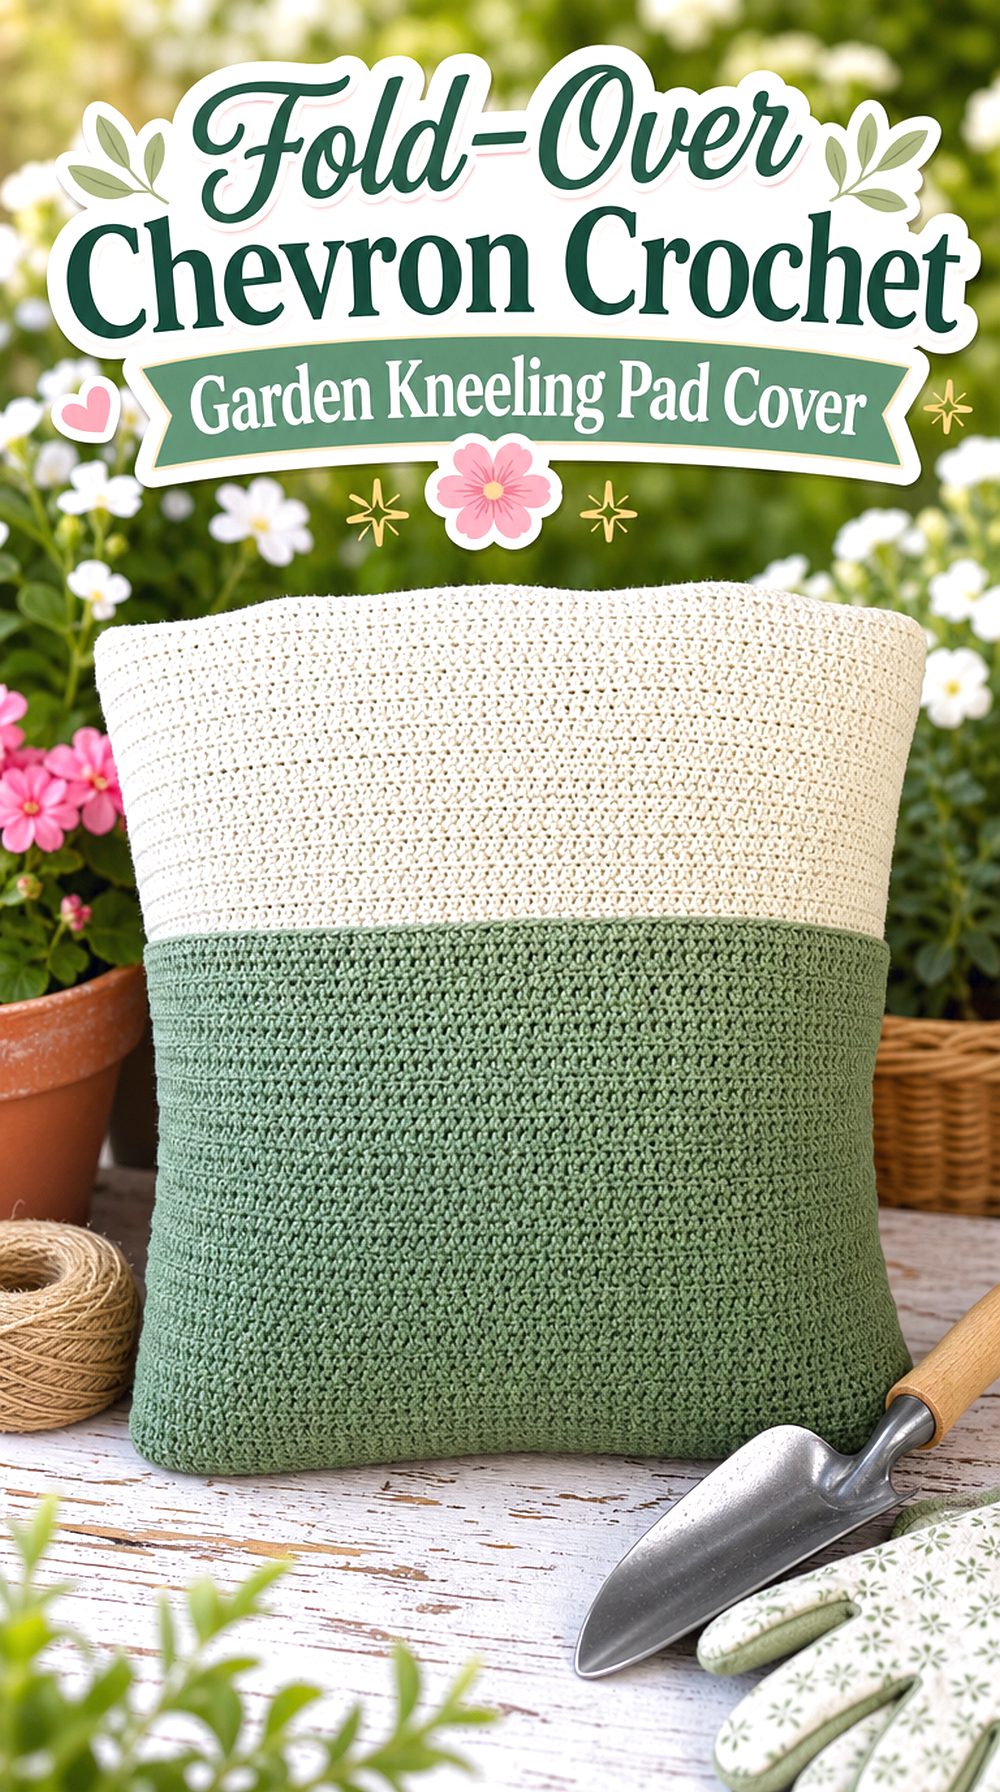
Design Details: This Crochet cushion cover combines a tapestry-worked front with chevrons and horizontal colour blocks, then forms the back from two overlapping panels. The fold-over opening avoids a zip and keeps the insert removable. Its flat graphic surface offers more visual detail than a plain utility cover without adding loose tassels or attached motifs.
Fit and Finish: To turn the square tutorial into a garden kneeling pad cover, match the front panel to the exact pad length and width, then preserve enough overlap at the back to hold the insert securely. The tutorial also shows why tension matters when different stitch sections meet.
Care Note: Use the plainer envelope side against the ground. A shallow overlap may gape when the pad bends, so test the closure before finishing the side seams and add a discreet button only if the opening needs more control.
4. Gingham Panel Crochet Garden Kneeling Pad Cover
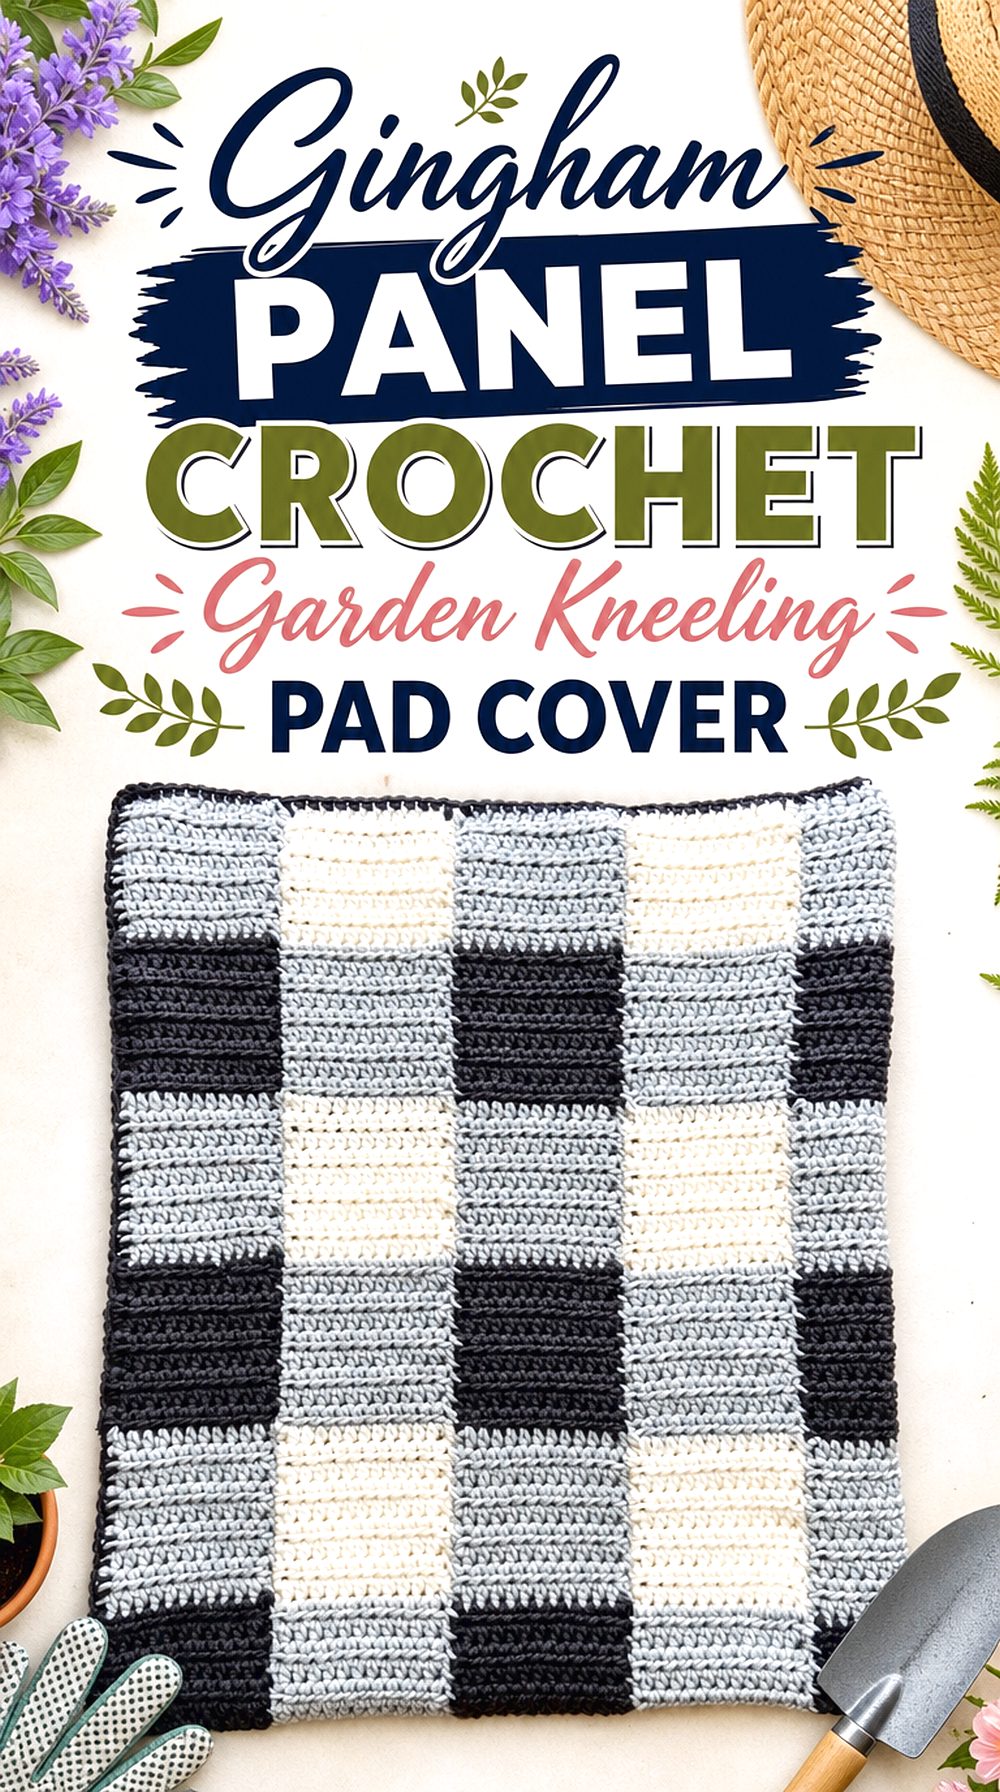
Construction Focus: The gingham face is assembled from seven narrow Crochet strips, creating a checked front without carrying several colours across every row. A plain half-double-crochet panel forms the reverse, and the two sides are joined with a single-crochet border. The optional picot round adds small points around the edge.
Who It Suits: This approach works for readers who enjoy modular colour placement and want a garden pad that coordinates with a cottage-style shed or greenhouse. Earthy greens, cream, and charcoal would soften the traditional black-and-white check.
Good to Know: The original pillow is closed around its insert, so it is not designed for frequent removal. For garden use, stop before sealing the final side and add a zip, buttons, or an envelope panel. Picot edging may collect soil, making a plain border the more practical finish for regular outdoor use.
5. Alpine Texture Crochet Garden Kneeling Pad Cover
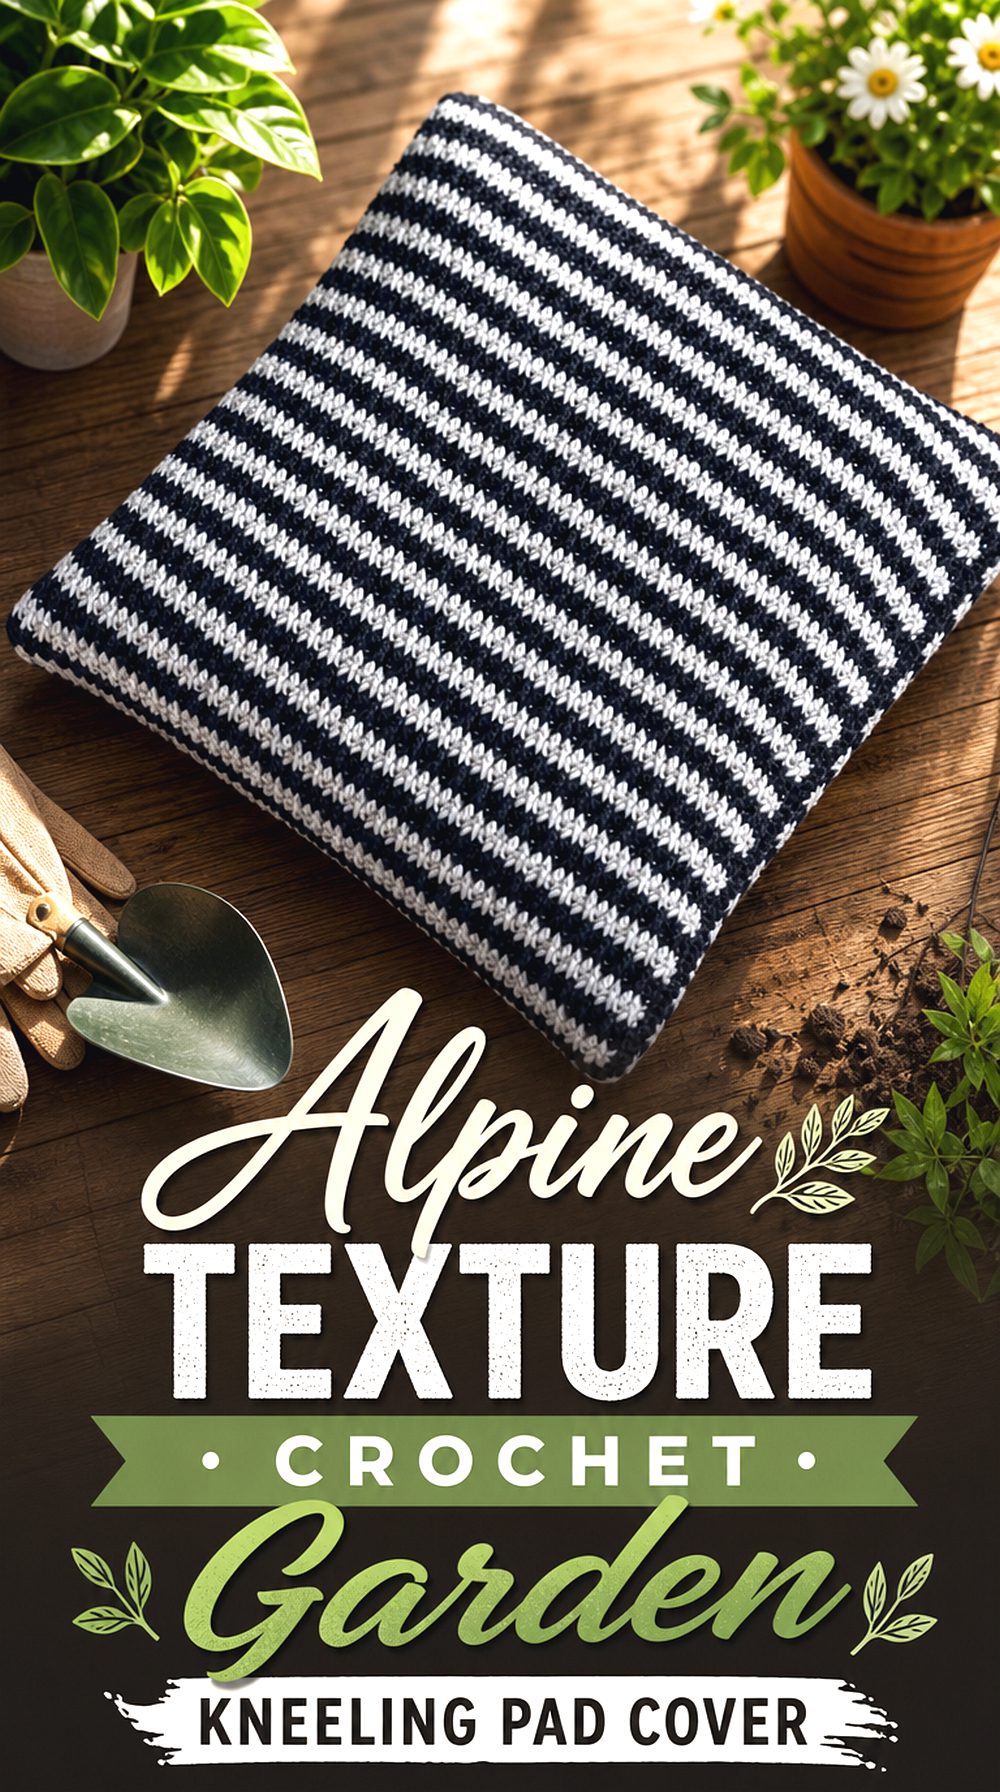
What Stands Out: Alternating plain rows and front-post stitches create the raised Alpine texture on this Crochet cover, while black-and-white stripes emphasise the relief. The tutorial uses different stripe spacing on each side and finishes the joined panels with crab stitch, producing a firm ridged outline rather than a hidden seam.
Best Use: Adapt the idea when you want a kneeling pad that feels substantial and looks tidy enough to hang in an open shed. A darker ground-facing panel will disguise marks more readily, while a lighter top keeps the stitch pattern visible.
Practical Point: The original construction joins both panels around the cushion insert, so plan a removable opening before adapting it. Strong surface texture can also hold grit. Consider working Alpine stitch only on the upper face and using a dense, flatter stitch for the underside, corners, and closure edge.
6. Graphic X Crochet Garden Kneeling Pad Cover
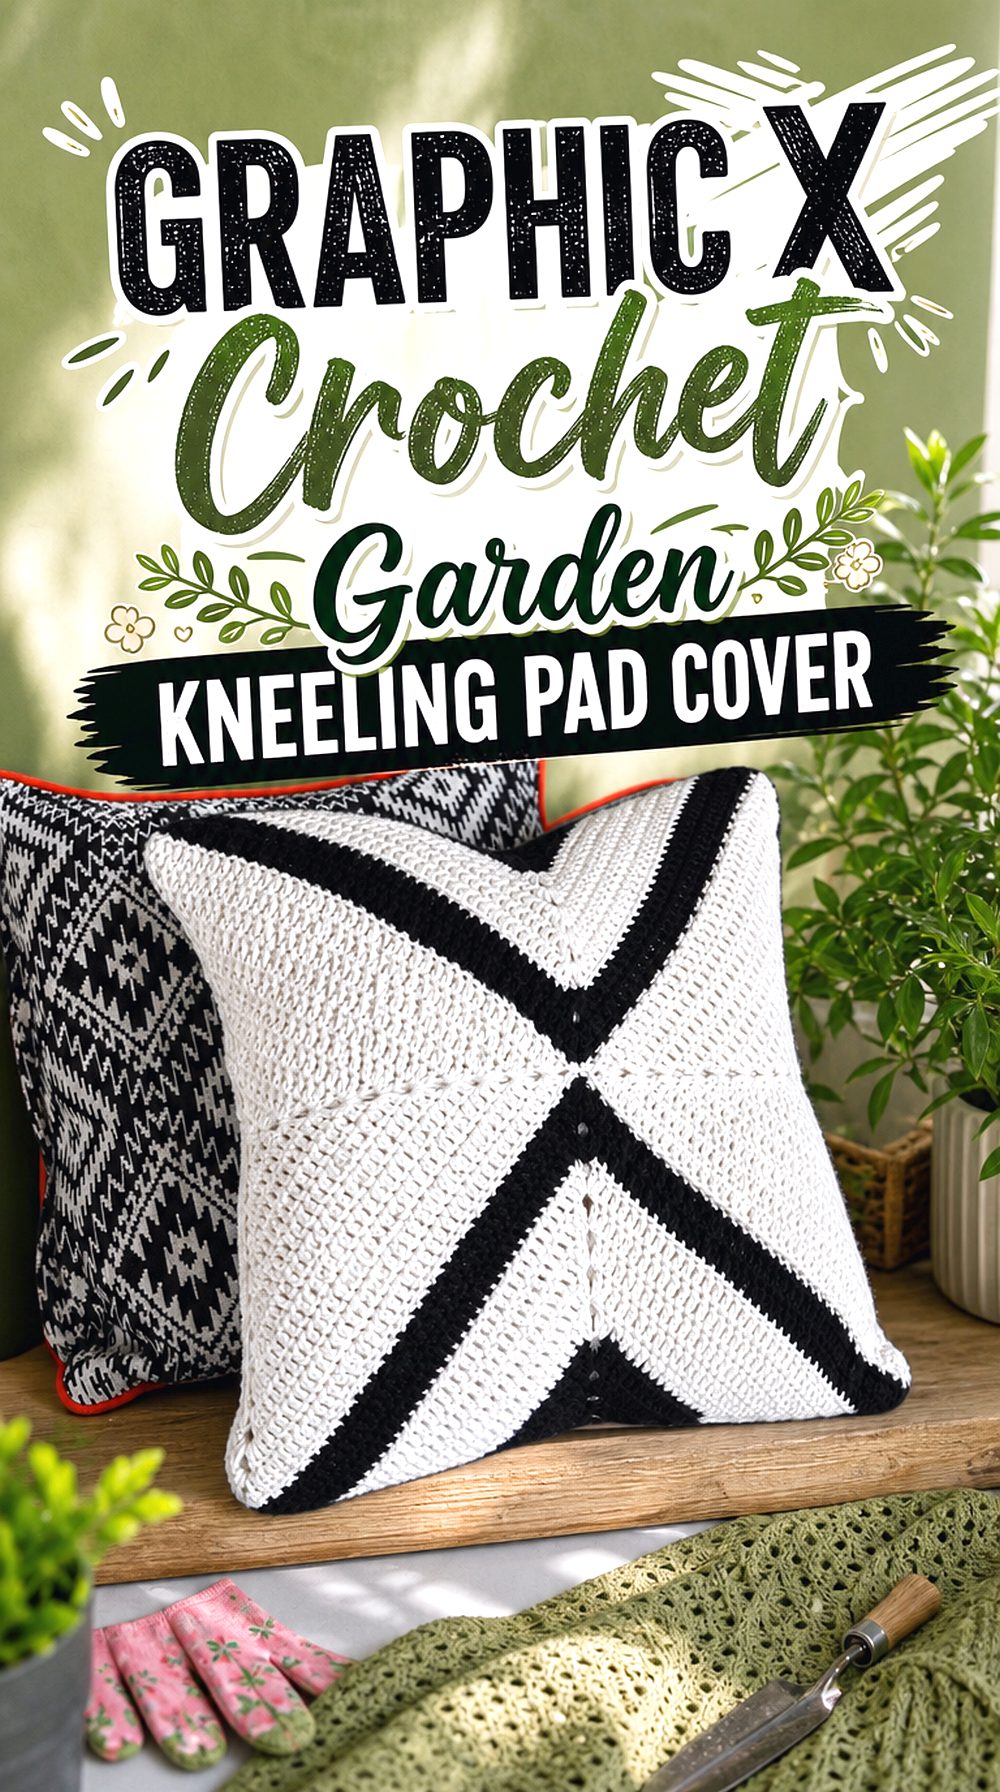
Design Details: Four Crochet squares create this bold X arrangement: two solid motifs and two striped motifs are folded and joined so the graphic lines meet across the centre. The modular construction gives the cover defined side edges and a strong two-colour look without appliqué.
Colour Direction: For a garden kneeler, try cream with leaf green, terracotta with sand, or two shades from outdoor cushions. High contrast makes the X easiest to read, while neighbouring tones produce a quieter geometric surface.
Before You Choose: The tutorial sews the final side closed after inserting the pillow form. Adapt one back edge to an envelope or button closure if the garden pad needs regular washing. Pay close attention where several square corners meet: a gap at the centre or bulky joins could become uncomfortable under pressure, so keep those seams even and place the smoothest face upward.
7. Envelope Back Crochet Garden Kneeling Pad Cover
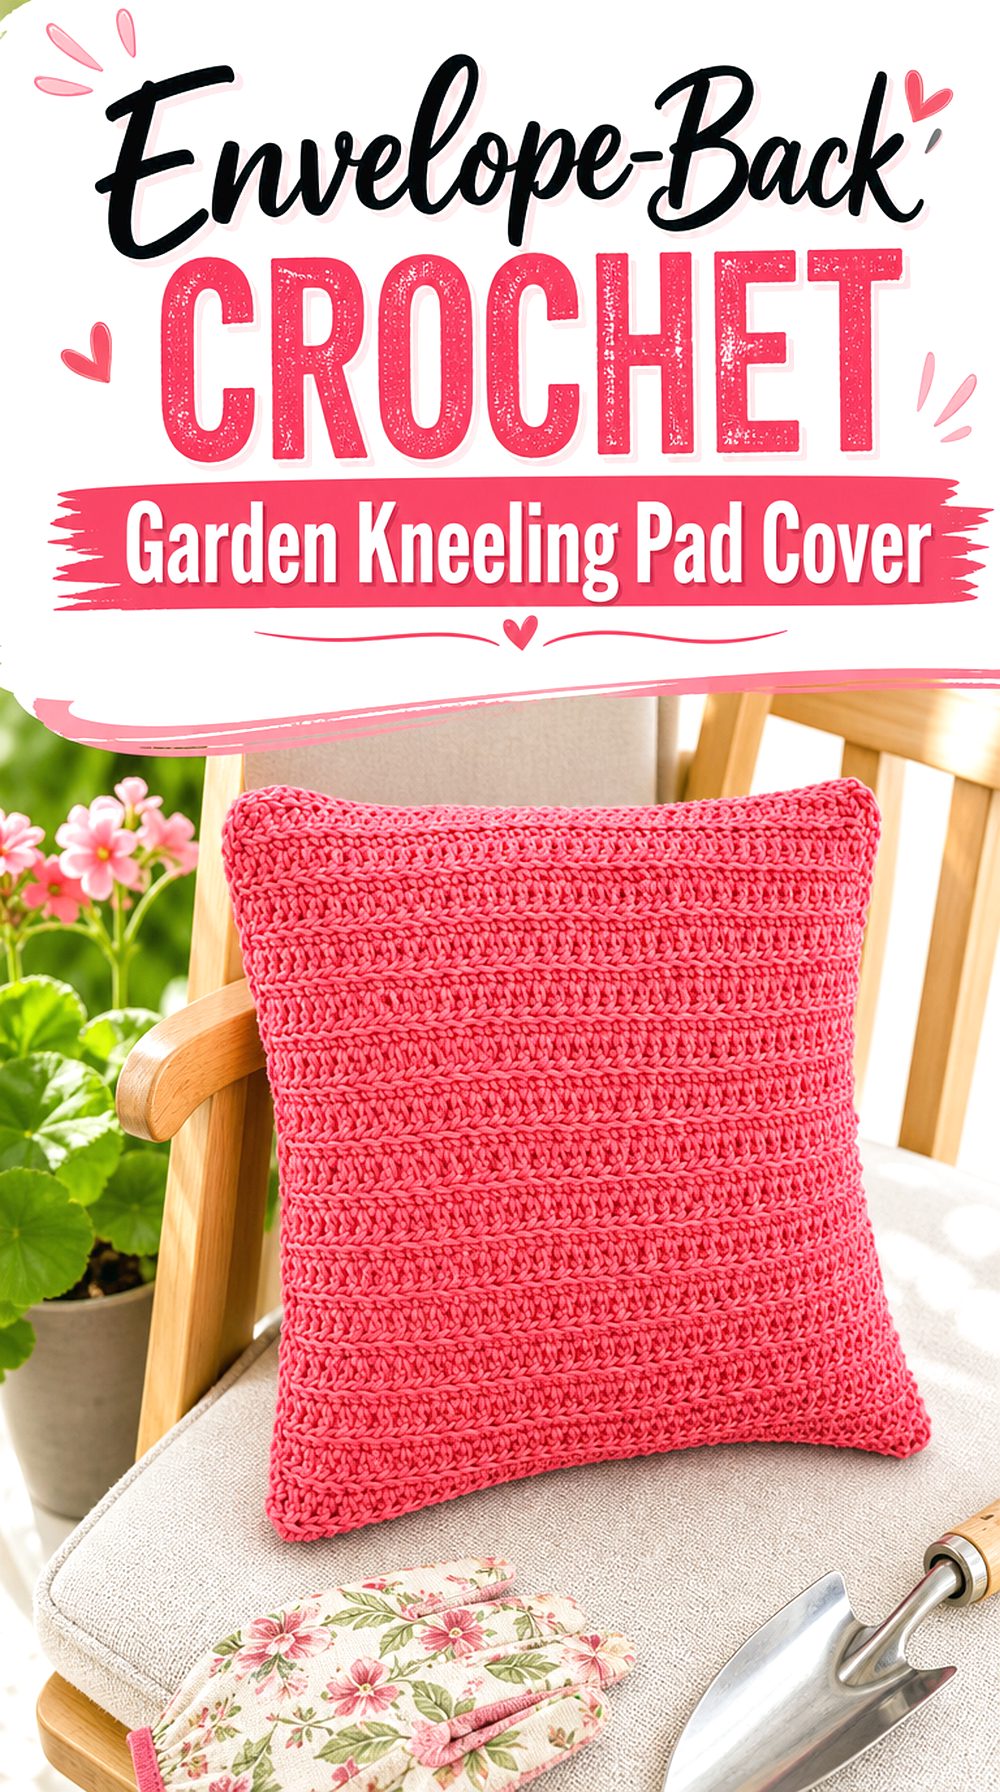
Why It Works: This Crochet envelope cover is made as one long rectangle, then wrapped around the insert so the ends overlap at the back. Alternating extended half-double crochet with back-loop stitches creates a subtle ribbed surface, and the outer slip-stitch seam can resemble piping. The pattern explains how width and overlap may be adjusted.
Everyday Use: An envelope opening suits a kneeling pad because there is no zip to press against the leg. Position the overlap on the underside but away from the main pressure area, or rotate it towards one short end.
Fit and Finish: Measure the pad depth as well as its face. A cover copied from a flat cushion may pull open around thicker foam. Increase the rectangle length for adequate overlap, reinforce both flap corners, and add a low-profile button only if the back shifts during carrying.
8. Rectangular Geometric Crochet Garden Kneeling Pad Cover
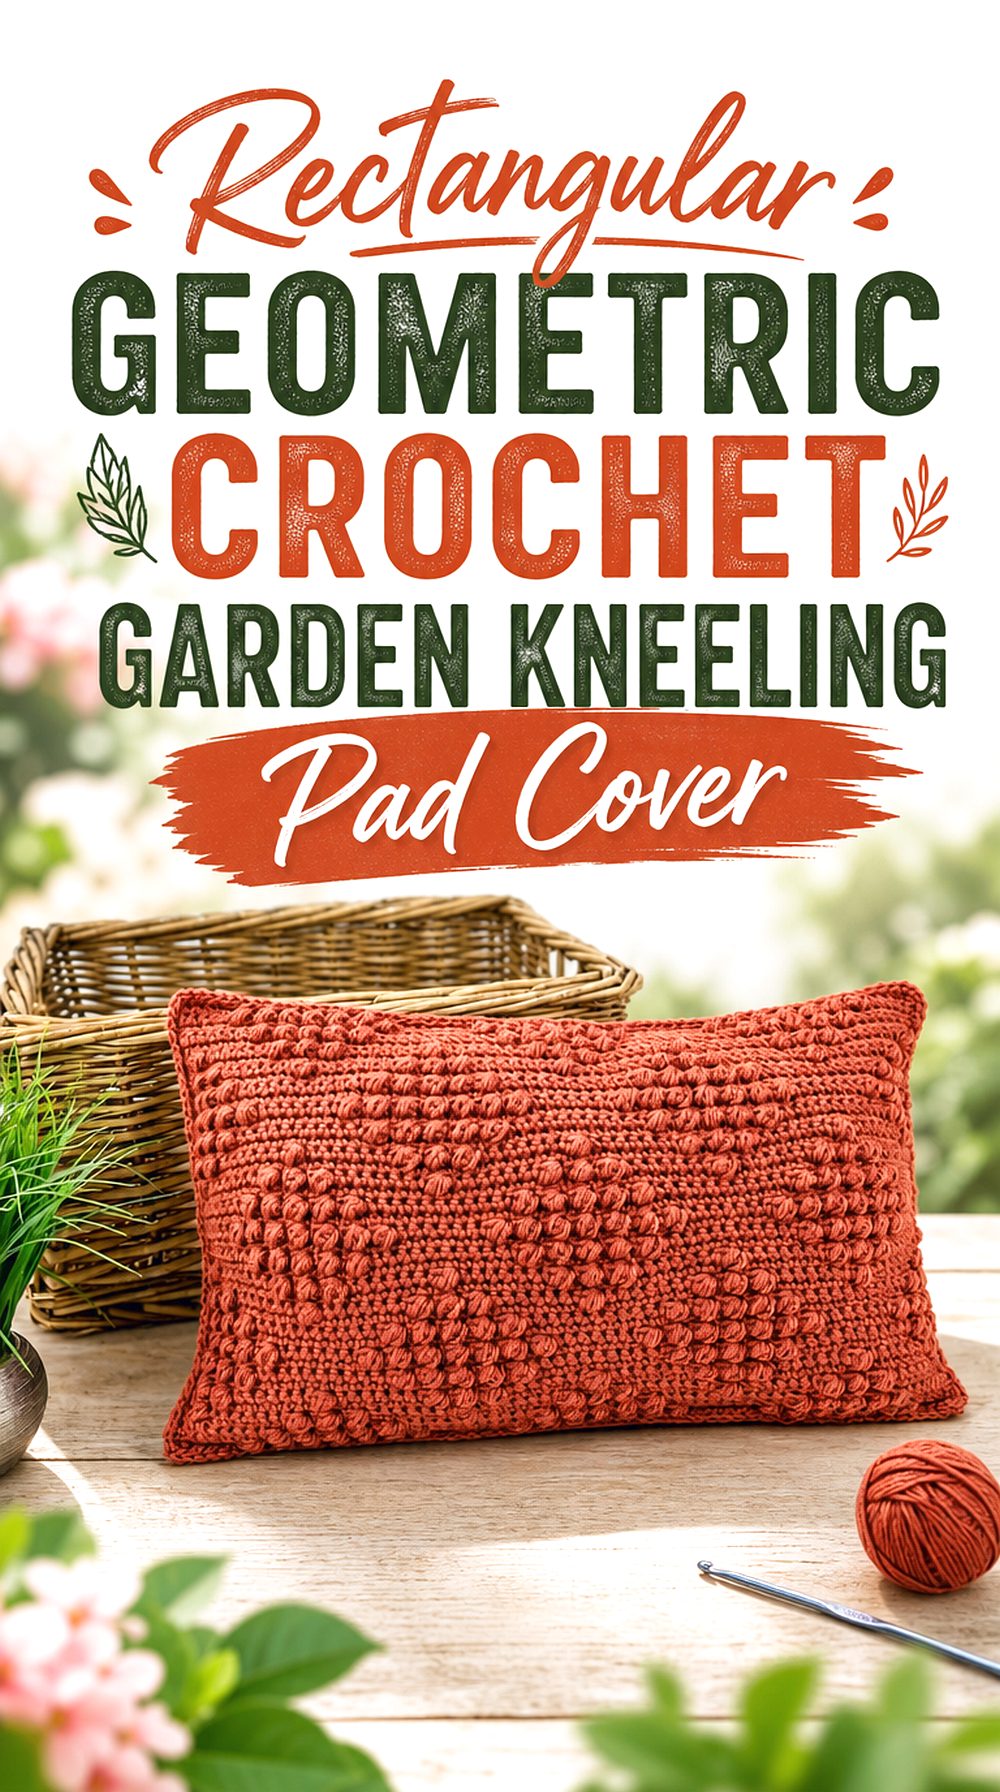
What Stands Out: This rectangular Crochet cover is already close to the proportions of many garden kneeling pads. A field of raised puff stitches forms a repeating geometric front, while two flatter back panels overlap to make the case removable. The panels are joined with a visible single-crochet edge that frames the shape.
Best Use: Choose this idea when a long, low pad needs texture without colour changes. A clay, moss, ochre, or deep blue shade would keep the geometry readable while suiting a garden setting.
Care Note: Puff stitches should remain on the knee-facing side rather than against paving or soil. They add depth but can trap fine debris, so brush the cover before laundering. When resizing, preserve the back-panel overlap and check the pad’s depth; a cover that fits the face measurement alone may become too tight once the insert is enclosed.
Useful Crochet Notes
Measure the Pad Before Crocheting
Measure the foam or existing kneeler in three directions and note any rounded corners. Work a swatch, then size the cover from the finished fabric rather than the starting chain alone. A cover that is too loose will wrinkle under the knees; one that is too tight may compress the padding or strain the closure.
Separate Padding from Weather Protection
A Crochet outer cover can improve comfort, colour, and removability, but it should not be treated as a waterproof layer. Keep the foam inside a wipeable inner sleeve when the pad will meet damp grass or soil. Dry every layer separately before storage so trapped moisture does not remain inside the finished cover.
Reinforce Openings and Carry Points
Corners, zip ends, buttons, envelope-flap edges, and handles receive more pulling than the centre panel. Secure yarn ends carefully and add extra stitching at those points without creating hard lumps beneath the knee-facing surface. Test the loaded pad by lifting it several times before taking it into the garden.
Conclusion
Choose the plarn or zipped kneeler when outdoor practicality matters most. The envelope and rectangular covers suit readers who want an insert that can be removed for cleaning, while gingham, Alpine, X, and puff-stitch versions put more emphasis on texture and colour. Start with the design closest to your pad’s shape, then simplify the edging and reinforce the opening for regular garden use.
FAQs
What yarn should I use for a Crochet garden kneeling pad cover?
Choose a yarn whose care instructions match the cleaning you expect. A dense, smooth fabric is usually more practical than a very loose or hairy texture because soil is easier to brush away. Swatch first, and avoid yarns that become excessively stretchy when the finished fabric is handled or damp.
How closely should the Crochet cover fit the foam pad?
Aim for a close fit that does not visibly compress the foam. Include the pad’s depth when calculating the cover, not only its top length and width. Before finishing the opening, pin or clip the panels around the insert and check for wrinkles, strained seams, and corners that cannot fill properly.
Does a Crochet kneeling pad cover need a lining?
A separate inner sleeve is useful when the foam cannot be washed or when the pad may touch damp soil. The lining should be removable or wipeable and should not make the cover uncomfortably stiff. Treat the Crochet layer as the decorative, washable outer cover rather than the only moisture barrier.
Which closure works best for a garden kneeling pad cover?
A zip gives a secure, tidy opening but requires careful placement and sewing. An envelope back is simpler and avoids hard hardware under the knees, although it needs enough overlap. Buttons can work on a short edge, provided they sit away from the pressure area and are stitched on firmly.
How should I clean and store the finished cover?
Shake or brush off dry soil before washing, then follow the yarn label rather than assuming every Crochet cover has the same care needs. Remove foam and any inner liner first. Reshape the cover while drying, and store all layers indoors only after they are completely dry.